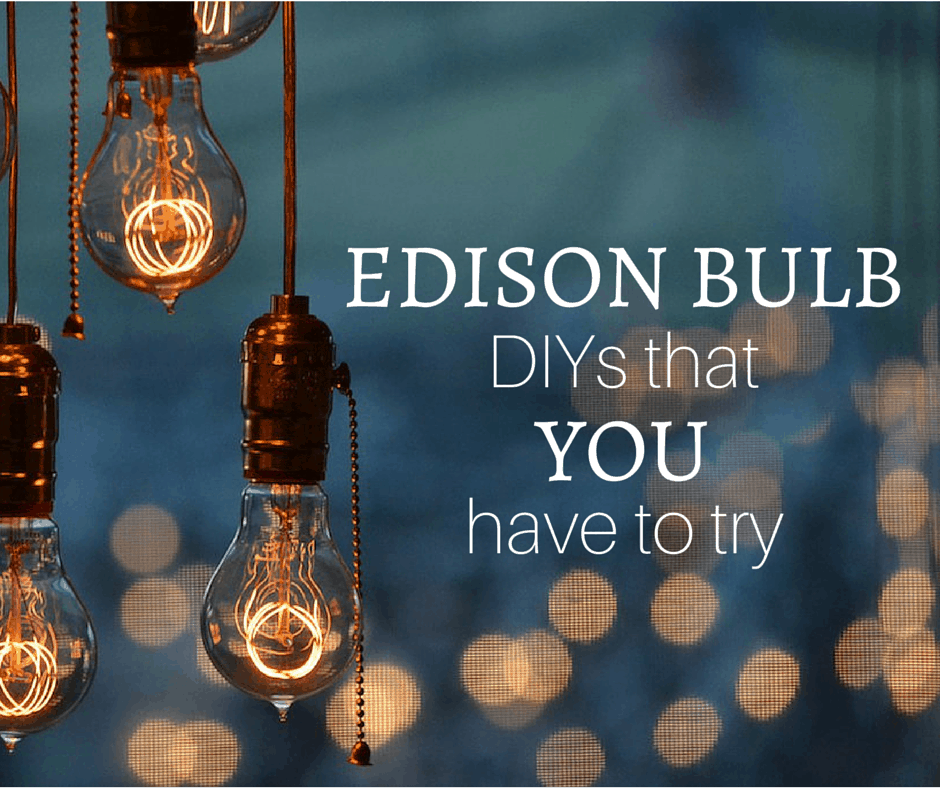
The industrial and deconstructed styles are incredibly en vogue now! Edison light bulbs are quintessential and the most recurring idea used in industrial design due to their simplicity and naturalness. All across Pinterest and Tumblr, we find clusters of Edison light bulbs being used to create curtains or tied together to form a light fixture. While that is something we strive for, it isn’t something that everyone can achieve. But turn that frown upside down: this post will give you ways to make things more than okay! In the spirit of individuality and originality, let’s spice up this trend with several Edison bulbs DIYs that are tres chic. Trust us when we say this: We have prowled the depths of the internet to bring you the most stylish, most doable, and cheapest Edison light bulb DIYs! Ready? Let’s go!
ONE: Effortless bedside light

G95 Globe Starry Night via Screed
Maximum budget for this project: $10. Seriously. How expensive can a few brackets and hooks get? If you want to get really cheap here, blue tack is definitely an option for you, but we recommend against it as it isn’t as secure as the other choices. This DIY is ideal for people with Edison light fixtures that can be connected to a power outlet to allow flexibility. There are several ways you can individualise this DIY and alter it for your space.
Firstly, you can decide whether you’d go for multiple bulbs or a single bulb. We think going both ways will still guarantee you a spellbinding experience! For practical reasons, work with what you have: if your Edison light fixture has multiple bulbs, use that. Another point of consideration is the brightness of your room! I’m pretty sure our primary school science lessons have made it clear that the more bulbs Cheryl has, the brighter Cheryl’s room will be – regardless of when her birthday falls. Check out these amazeballs draping Edison light fixtures acting as bedside lighting with the help of a simple hook. These rooms show how Edison light bulbs are suitable for both industrial AND modern themed spaces! Double score!

All the single lights, put your hands up (That was a Beyonce reference… in case you didn’t get it)! Now, take out your EZ-LINK card cause you’ll need it when you make your trip down to the nearest hardware store or IKEA to purchase some hooks or brackets. Wouldn’t it be amazing if you can get your light fixture to reach even the most awkward of places? This DIY gives you the flexibility and the liberty to light up virtually any part of your space (so long as there’s a power outlet within reachable distance). Up your game by going for the removable 3M Command hooks! For those going the brackets way, there is room to be creative when you pick and design your brackets. We’d go for metallic brackets for the industrial or modern theme and wooden brackets for a Scandinavian design. If you have a low ceiling or you’re planning to install the lights in a shelving unit, opt for an open eye hook that is drilled overhead (right).

TWO :: Book Lamp

Candle Shaped via Screed
Have a bunch of old books at home that bear too much sentimental value to give away? Here’s your solution: DESTROY THEM! Try out this DIY to literally light up your stories. A bonus is that this DIY allows you to play around with the height of your end product simply by stacking more books!

What you need:
- Old books. Preferably, ones that vary in size and thickness to give more character and form to your light fixture. If you don’t have any old books to sacrifice on the altar, take a trip to the Salvation Army for cheap options!
- Edison light fixture.
- Drill. Yes, we know not everyone has one. If you don’t have and can’t get access to one, go the primitive way: all you need is a pair of scissors and lots of patience. Note: the primitive way can only be done with softcover books!
- An exacto knife or a pen knife. DIYers, please invest in a good exacto knife: it will take you places you’ve never been!
- Hot glue gun. We say hot glue gun because it is heavy, but if you aren’t able to get a hold of one, super glue works fine as well.
How-to:
- Stack your books to find a suitable arrangement, taking into consideration the colour combination and the final height.
- Mark out, on the topmost book, where you’d want your Edison bulb to sit.
- Drill straight through the book to create a hole large enough for the wire of your light fixture to thread through. Be careful when handling a drill!
- Place the top book on the second book and mark the placement of the hole on the second book. Drill through the second book.
- Repeat for the other books until you reach the second last book. Work in a top-down direction!
- Mark out where the wire will come in contact with the last book. From that marking, make a tiny canal to the edge of the book. This canal has to be wide and deep enough for the wire to nest comfortably within. Note: Make sure your last book isn’t too thin.
- Lay the wire and glue the books together simultaneously. For this, work in a bottom-up direction.
- Glue the bulb socket of your light fixture to the top of the book.
- Once you’ve glued on the top book, adjust the length of your wire so that the Edison bulb sits comfortably in the socket. Connect your light fixture to a power outlet and watch the magic happen.
DIY tip! The old books give this DIY a very vintage style. If you’re heading in the industrial-themed direction, you can spray paint the covers of your books with black spray paint to give them a refined and modern touch. Matte spray paint is more apt for industrial themed spaces while a glossy finish is suitable for the modern space.
THREE :: Cage shade

A19 Classic Round Bulb via Screed
We love how this DIY provides such an elegant spin to things without masking the delicate Edison light bulb. There are two ways you can bring this cage shade trend to your space: by going the pure DIY or the time saver’s way. The pure DIYer’s way is to make the cage shade from scratch with some wires. This definitely gives you the autonomy in the final outcome and allows you to work around the unique qualities of your Edison light bulbs. Now, you really do not want to hide the pretty filament of a Globe Starry Night Edison Bulb do you?

What you’ll need:
- Wires. They come in an array of colours and thicknesses. Pick ones that work for you and your design. They can be found in Popular, Art Friend, and DAISO.
- Hanging Edison light fixture.
- Hot glue gun or super glue. This can be used to attach the wires and to glue the socket to the cage.
- Optional: Pliers. This is to help you bend your wire in the event you pick a thick wire.
How-to:
- Is it very important that you come up with the design you want to work towards? This planning is essential to prevent mistakes when putting your cage together. Mathematically work out how long and wide each component has to be. Remember to plan a space to attach your socket to. Be organized, friends!
- Cut out the necessary lengths and bend them into shape. You might require the help of a pair of pliers. If you’re having difficulty achieving the shape you hoped for, look for a household object with a similar surface and wrap your wire around it. If you need to, mark out the different parts with a Post-it to keep track of them.
- Close the ends of the wires with a little glue. Alternatively, you can bend about 2cm of wire inwards and hook them together.
- Assemble your cage by gluing or hooking any crossing wires.
- Glue your socket to the pre-planned position.
- Thread your wire through, attach your Edison bulb, and you’re good to go. Take a picture of your creation and tag us! Don’t forget to #DIYgoals
If you’re one looking to save time, we would suggest shopping around for a caged container. We recommend trying out DAISO or your local convenience store for cheap options. Check out Under the Sycamore (leftmost) for a step-by-step for this DIY! Equally cool alternatives are rattan baskets and mesh containers. Rattan baskets offer the space an oriental feeling while mesh containers exude an industrial vibe.
 FOUR :: Geometric shade

 G125 Globe via Screed
Looking for geometric lights similar to Screed’s KARIN Triangular Cage Lamp or KASPER Polyhedron Abstract Lamp? You can recreate your own with your Edison light fixture. Get out your inner mathematician, as this DIY requires a whole lot of measuring and geometry! These bare geometric light fixtures is the epitome of an industrial design with the Edison light bulb and the clean, straight lines from the geometry. HGTV (left) offers a great tutorial on how you can make a geometric lamp with an abstract pattern using soft copper piping. If you’re going for a more symmetrical and conservative style, check out Isabelle Verona’s video (right).

FIVE :: Flower vase
 ST64 Teardrop via Screed
Not interested in using your Edison bulbs as a light fixture? Or have you already exhausted the life of your light bulb? We’ll be switching things up by using these Edison bulbs as a pot for plants and flowers. Add colour to the unadorned Edison bulb with pretty flowers: this DIY makes for a good ornament on a wall or a nice decoration to a table. It is a subtle but sweet touch to any space, injecting some femininity, especially for industrial-themed rooms, which tend to lean on the masculine side. Simple modifications can be made to convert this DIY from a standing table piece to a hanging ornament.
For a standing table piece, you can fashion a stand out of a wire to keep it upright. Get artistic with the wire stand by molding it into different designs! For hanging ornaments: with an exacto knife, CAREFULLY pierce two holes on opposite sides of the metal casing for the string or wire to go through. Viola! You now have something classic to fill the gaps in your space.

SIX :: Decorating the bulb
 ST64 Teardrop Cactus via Screed
Are the DIYs above a little too hard? Do you know it is possible to glam-up the bulb itself? Get ready to exercise your creative muscles when trying to come up with a design that fits the theme of your space or something that would make the entire light fixture more cohesive. This is the simplest and most basic DIY on the list as coloured permanent markers can be found in every home.
This is a way to add colour and excitement to a plain bulb and will be a suitable addition to any child’s bedroom. Light bulb above our heads! This can be a DIY project for the entire family to try: the children can decorate their bulbs while the parents can aid in the set up. Note of caution: While we encourage being adventurous with your designs, we are also strong advocates of not overdoing things. If there is already a lot going on with your light fixture, we advice against decorating your bulb. At the end of the day, the beauty of Edison light bulbs originated from its simplicity.
Add some magic to your design by pasting 3D cut-outs onto your bulb just like the butterfly bulb (right). You can definitely try this out with different cut-outs to suit your individual taste and preference. The butterflies certain do make the Edison light bulb come alive!

We amassed such a great list of possible Edison bulb DIYs that we had to break the list into parts so this post wouldn’t go on forever! It pains us so much to exclude all those amazing DIYs. Mend our broken hearts by sharing this post on your social media accounts so we know you’re dying for a part 2. Up till then, we hope these six DIYs will keep your hands busy crafting and introduce creative designs into your space.
It pleases us to no end to see your take on the DIYs above, so share a shot with us on our FaceBook or Instagram (@screed.sg). Don’t forget to ‘like’ and follow us while you’re at it!
What makes Edison bulbs unique for DIY projects?
Edison bulbs have a vintage filament design that gives off a warm, cozy glow. They are perfect for DIY projects because they add character and timeless charm to any space.
Are Edison bulb DIYs safe to try at home?
Yes, most Edison bulb DIYs are safe if you follow basic safety steps like using proper fixtures, avoiding overloaded circuits, and ensuring wires are well insulated.
What are some easy Edison bulb DIY ideas for beginners?
A: Simple DIYs include creating mason jar pendant lights, wooden base desk lamps, or minimalist hanging bulb fixtures. These projects require minimal tools and add instant style.
Can Edison bulb DIYs work in modern homes?
Absolutely. Edison bulb DIYs blend vintage style with modern décor. They work well in bedrooms, kitchens, cafés, or any space where you want a warm, stylish touch.
Do Edison bulb DIY projects save money?
Yes. Making your own Edison bulb lamps or fixtures is usually more affordable than buying designer lighting. Plus, you get a personalized piece for your home.